간단한 버튼을 누르면 숫자가 올라가는
<script setup lang="ts">
import {ref} from "vue";

const count = ref(0)
</script>

<template>
  <p>안녕하세요</p> <button @click="count += 1">버튼을 눌러주세요</button>
  <p>{{count}}</p>
</template>

<style>

</style>
글이랑 제목 작성 view
<script setup lang="ts">
import {ref} from "vue";

</script>

<template>
  <div>
    <input type="text" placeholder="제목을 입력해주세요" />
  </div>

  <div>
    <textarea rows="15"></textarea>
  </div>

  <button>글 작성완료</button>
</template>

<style>

</style>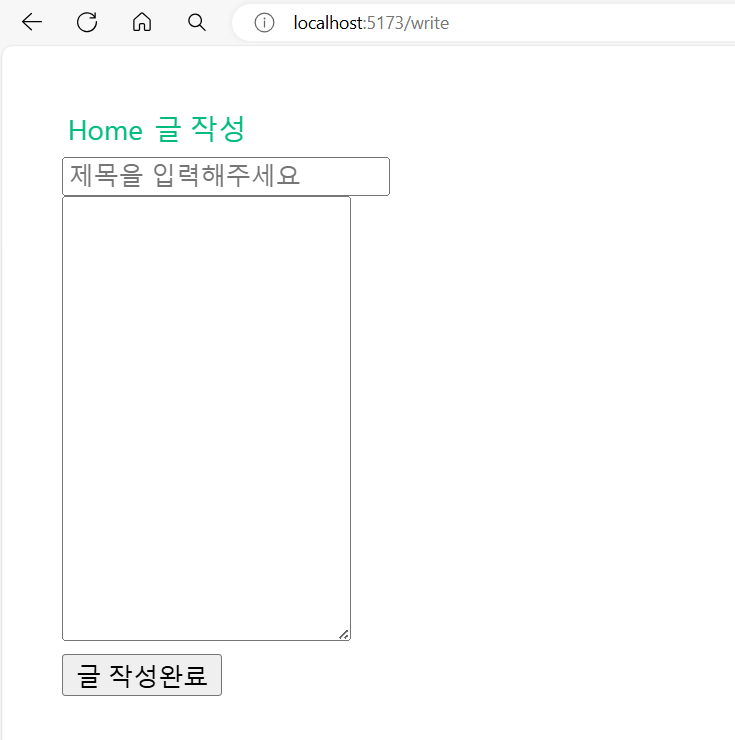
Element Plus 적용하기
https://element-plus.org/en-US/
A Vue 3 UI Framework | Element Plus
A Vue 3 based component library for designers and developers
element-plus.org
설치
npm install element-plus --save
main.ts 추가
import ElementPlus from 'element-plus'
import 'element-plus/dist/index.css'

app.use(ElementPlus)
main.ts 전체
import './assets/main.css'

import { createApp } from 'vue'
import { createPinia } from 'pinia'

import App from './App.vue'
import router from './router'

import ElementPlus from 'element-plus'
import 'element-plus/dist/index.css'

const app = createApp(App)

app.use(createPinia())
app.use(router)
app.use(ElementPlus)

app.mount('#app')
Bootstrap 적용
Bootstrap
Powerful, extensible, and feature-packed frontend toolkit. Build and customize with Sass, utilize prebuilt grid system and components, and bring projects to life with powerful JavaScript plugins.
getbootstrap.com
설치
npm i bootstrap@5.3.3
main.ts 추가(유틸리티만 사용)
import "bootstrap/dist/css/bootstrap-utilities.css"
AXIOS 라이브러리 설치
npm install axios
WriteView.vue

<script setup lang="ts">
import {ref} from "vue";
import axios from 'axios';

const title = ref("")
const content = ref("")

const write = function(){
  console.log(title.value, content.value)
  axios.get("http://google.com")
}

</script>

<template>
  <div>
    <el-input v-model="title" placeholder="제목을 입력해주세요" />
  </div>

  <div class="mt-2">
    <el-input v-model="content" type="textarea" rows="15"/>
  </div>

  <div class="mt-2">
  <el-button type="primary" @click="write()">글 작성완료</el-button>
  </div>

</template>

<style>
</style>
ref
- Vue 3의 ref 함수는 반응형 변수를 생성
- title과 content는 빈 문자열로 초기화된 반응형 변수
axios
- HTTP 요청을 보내기 위해 axios 라이브러리를 임포트
write
- 함수: 사용자가 "글 작성완료" 버튼을 클릭하면 호출
- title, content 값을 콘솔에 출력
- Google로 GET 요청을 시도. 하지만 Google로의 요청은 CORS 문제를 발생시킨다.
template
- <el-input>: Element Plus UI 라이브러리의 입력 컴포넌트를 사용하여 title과 content를 입력 v-model 디렉티브를 사용하여 각각 title과 content 반응형 변수와 양방향 바인딩
- <el-button>: Element Plus의 버튼 컴포넌트. 사용자가 버튼을 클릭하면 write 함수가 호출
CORS 문제 해결하기
@Configuration
public class WebConfig implements WebMvcConfigurer {
    @Override
    public void addCorsMappings(CorsRegistry registry) {
        registry.addMapping("/**")
                .allowedOrigins("http://localhost:5173");
    }
}- 모든 경로에 허용
- Origin 허용: http://localhost:5173 (프론트 서버)
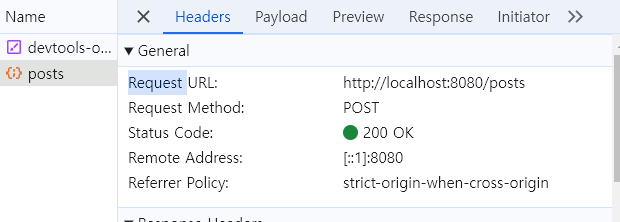
로컬 백엔드 서버로 글 작성 요청하기
<script setup lang="ts">
import {ref} from "vue";
import axios from 'axios'; // axios 라이브러리 import

const title = ref("")
const content = ref("")

const write = function(){
  // console.log(title.value, content.value)
  axios.post("http://localhost:8080/posts", {
      title: title.value,
      content: content.value
  });
}
</script>

<template>
  <div>
    <el-input v-model="title" placeholder="제목을 입력해주세요" />
  </div>

  <div class="mt-2">
    <el-input v-model="content" type="textarea" rows="15"/>
  </div>

  <div class="mt-2">
  <el-button type="primary" @click="write()">글 작성완료</el-button>
  </div>

</template>

<style>
</style>
성공!!!!

'Front > Vue.js' 카테고리의 다른 글
| 프록시를 통한 CORS 프론트에서 해결하기 (0) | 2024.08.22 |
|---|
